Location
SWISS KRONO TEX GmbH & Co. KG
Wittstocker Chaussee 1
16909 Heiligengrabe
Germany
Contact Person
SWISS KRONO Contact form
Sales Team
Technical Services
Wood Purchasing

Transition and compensation profiles
Transition profiles are used wherever two floors meet. You have this situation with doors, for instance. A suitable transition profile creates an attractive appearance and consequently an elegant switch between different coverings. Even in large, open rooms it often happens that, for example, the cooking area has a different floor design than the dining or living area. For particularly large rooms, expansion joints are necessary even within a continuous laminate floor surface, which are also concealed with transition profiles.
Transition profile or compensation profile?
transition profiles when two floors with the same height meet. Compensation profiles, on the other hand, are used for floors of varying thickness. They compensate for different heights of different floor coverings and thus minimize the risk of tripping. This can occur, for example, when laminate and carpet meet within a doorway, or laminate and tiles. Different laminate floors can also have different thicknesses, so there may be a difference in height.
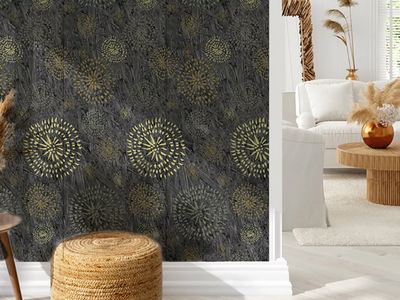
The selection is large: The profiles are available in different styles, colors and surfaces, in a wooden look, in metallic colors, in plastic, in aluminum, for gluing or for screwing on. This allows the bars to be optimally matched to the decor of the laminate and to the sub-floor. We recommend that you take a piece of the floor covering with you when you buy from a hardware store or specialist store. So you can directly compare whether color and structure match.

Transition profile for floors of the same height.
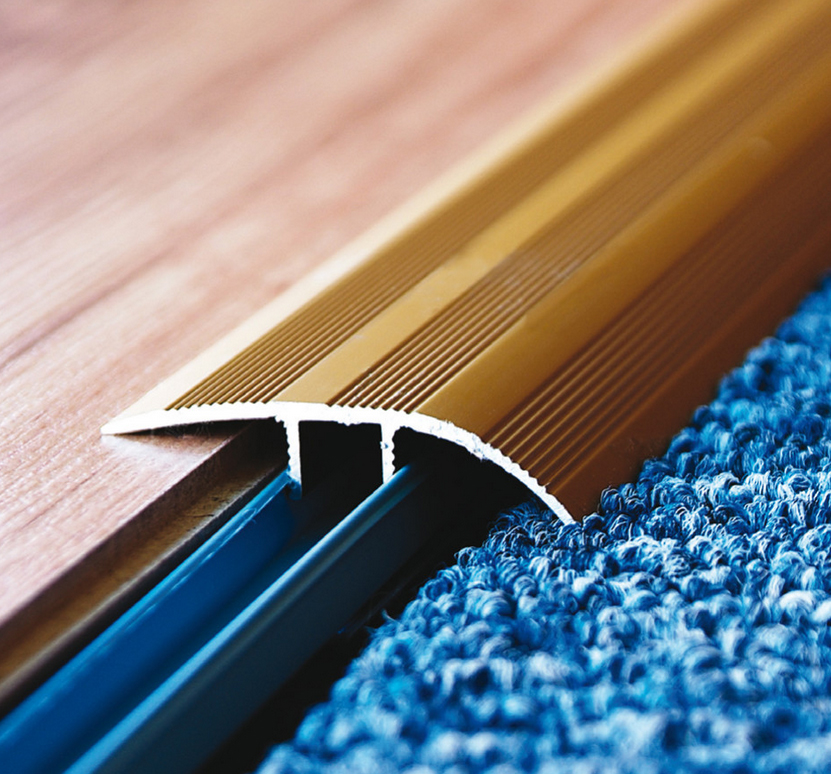
Compensation profile for floors of different heights.
Tips for laying transition and compensation profiles
Transition and compensation profiles always consist of two parts: a base or bottom strip and the subsequently visible cover strip or profile.
Two aspects need to be considered before laying or even before buying the transition profiles:
- What is the condition of the sub-floor? In the case of underfloor heating, for example, you should not use screw-on profiles.
- How wide are the expansion joints that the profile must cover? Depending on the size of the expansion joint, select a corresponding width of the profile during purchase.
Procedure for laying compensation and transition profiles
- Cut the transition profile to the appropriate length. A miter saw or a hacksaw is best suited for this.
- Please make sure that there is a distance of 10 mm on each side between the profile and the respective floor covering. The impact sound insulation ends with the laminate and is not below the transition profile. To mark the position of the strip, you can use a pencil to draw a aid line on the sub-floor. For doors, the profile should be located just below the door leaf when the door is closed.
- The strip can then be fixed to the sub-floor. Depending on the type of profile, this is done through screwing on or gluing.
- Screwing on: Use the bottom strip to mark the necessary holes for the screws on the under-floor along the marked line. Next, drill the holes into the floor and then attach the bottom strip using dowels and screws.
- Gluing: Apply assembly adhesive to the marked area on the sub-floor and on the bottom strip. Then press the strip splint onto the corresponding mark and allow the adhesive to dry according to the specified time. Self-adhesive strips are also available. This is even more easy to use.
- In case of an expansion joint, either continue laying the same floor or continue with the other covering. Please keep a distance of 10 mm from the bottom strip.
- The last step is to attach the profile to the bottom strip; this can usually be done with a simple click. You now have an elegant transition from one flooring to the next. Done!
#Accessories
What needs to be considered for the transitions to other rooms? By attaching the skirting boards, the room is complete – the different strips give the room an individual design. Now it depends only on the care: #take care.

Timon Zielke
Head of Technical Services & Product Training Worldwide

Nicolas Bublies
Technical Services & Product Training Worldwide